
PCB Stoplight Assembly
The final workshop of this series is the stoplight PCB assembly. This workshop takes a lot of preparation to ensure all components and assembly bags are ready to go on the day of the workshop.
Preparation
1) Assembly bags will need to be made for each student enrolled in the class. These bags include all of the parts that are essential for the PCB to work as intended. Each bag should have:
|
Components Needed in Bag |
Picture of component |
|
Stoplight PCB |
|
|
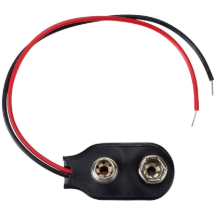
9V Battery Connector |
|
|
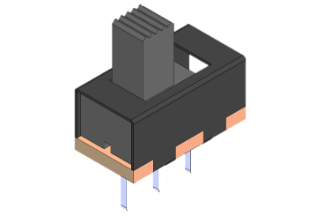
Toggle Switch |
|
|
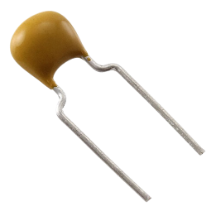
1x 0.1 uF Capacitor 1x 0.33 uF Capacitor |
|
|
Voltage Regulator (LM7805) |
|
|
10k Resistor |
|
|
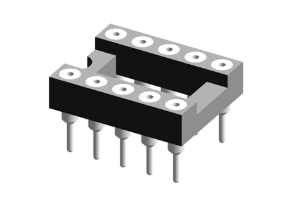
8-pin DIP socket |
|
|
Push Button (SMD) |
|
|
3x LED’s (Green Yellow Red) (SMD) |
|
|
3x 330 ohm Resistors (SMD) |
|



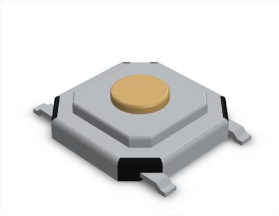

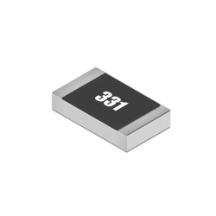
2) All of the ATTiny85 IC's needs to be ordered, bootloaded through the Arduino IDE software, and loaded with the stoplight code (StopLight.ino)